Original article posted by monsieurvechai on 04/23/2017 11:00:00 UTC+7. Translated by Steveyboi with Google Translate + English knowledge
(Prevention) Dark arts with ESP8266 - Part 4: Is it hard to be a university valedictorian?
Project description: In the first article I’ve showed you how to hack the national exam with the ESP8266 module. Of course no one lets you bring phones into the exam room for you to open it and look for answer beacons. However no one prohibits you from bringing a Casio calculator into the exam room. In this article I will show you how to put Wi-Fi into the legendary Casio calculator to get cheat sheets from anywhere in the world. Note that you should take responsibility when making porridge1 and avoid doing business and selling the result if you don’t want the C2 intelligence department knocking on your door for questioning.
1. Principle
The first thing we want to do is remove the screws on the back side to see the circuit board. If you use an original Casio calculator the board looks quite majestic: 
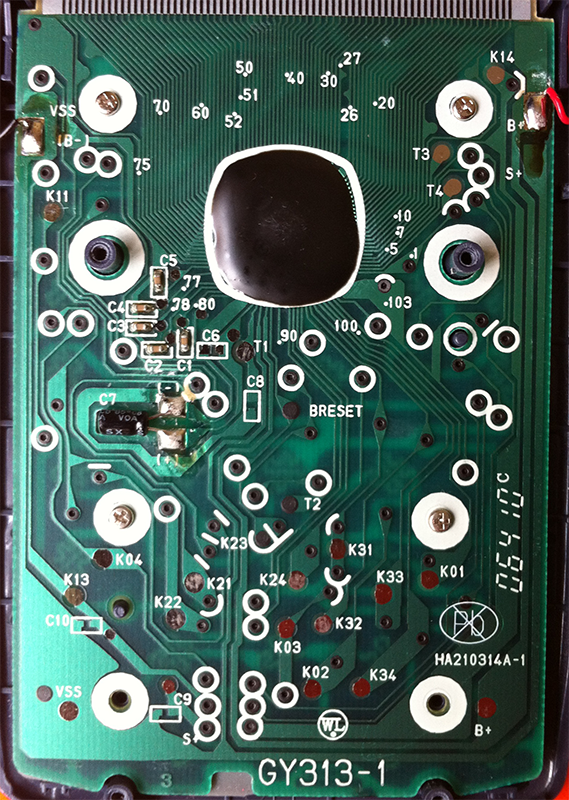
For me, I only dared to sacrifice a crappy Chinese calculator so the PCB is much more simplistic: 
The similarities between the real and the copy is that the CPU has been applied a black epoxy blob so the chance of accessing to rewrite the firmware is the number zero. The next plan is using an Arduino to display the LCD. This isn’t very feasible because the LCD has tens of pins, and yet we don’t have this LCD’s diagram. So do we give up? The answer is “no”, we still use the Arduino (more specifically the ESP8266) to display the LCD, with a familiar powerful assistant, that is a relay.
First, notice that the PCB has a lot of test points, labeled K01, K02,… K34. If you use a wire to connect K01 and K33, the LCD will display the number 1. After testing points for a while you will get a table like the following (if using Casio):
| K01 | K02 | K03 | |
|---|---|---|---|
| K21 | / | AC | M+ |
| K22 | X | DEL | , |
| K23 | (AC) | 9 | ) |
| K24 | 6 | (AC) | ( |
| K31 | 5 | 8 | ENG |
| K32 | 4 | 7 | RCL |
| K33 | 1 | 2 | 3 |
| K34 | 0 | . | EXP |
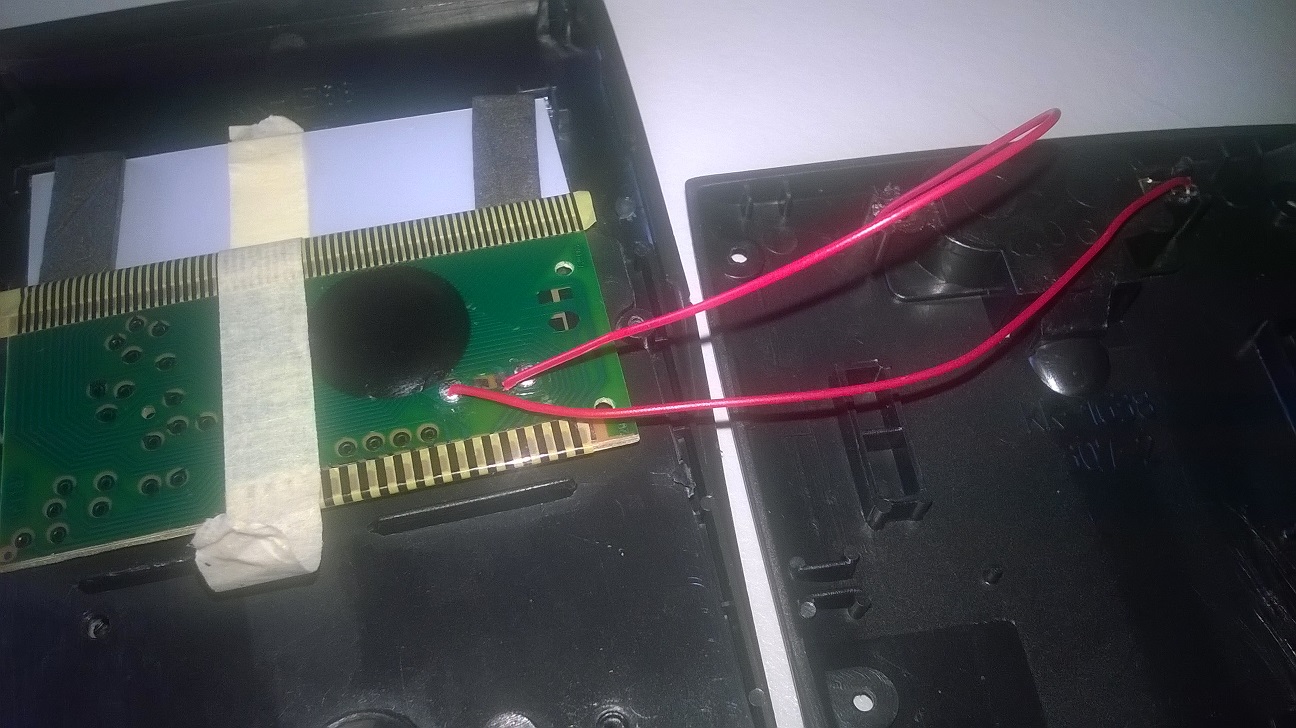
The next step is, instead of manually connecting the 2 points of the row and column together to display numbers on the LCD, we will use the relay which is already very familiar with our community. Imagine now you want to use the ESP8266 to display the number 9 on the LCD, you connect according to the following diagram:
| ESP8266 | Relay | Casio |
|---|---|---|
| 3.3V | + | |
| GND | - | |
| D1 | Signal | |
| NO | K23 | |
| COM | K02 |
Now if we pull the D1 signal pin high (using the command digitalWrite(5, HIGH)), the relay will close the contact between NO and COM, connecting K23 and K02 together and the number 9 will appear on the LCD.
The next thing is using the ESP8266 to create an access point with the server for the relative to give in cheat sheets for you.
2. Let’s code
Go to the ESP8266’s git to download the flasher program.
Then go to my git to download the file eg5.bin.
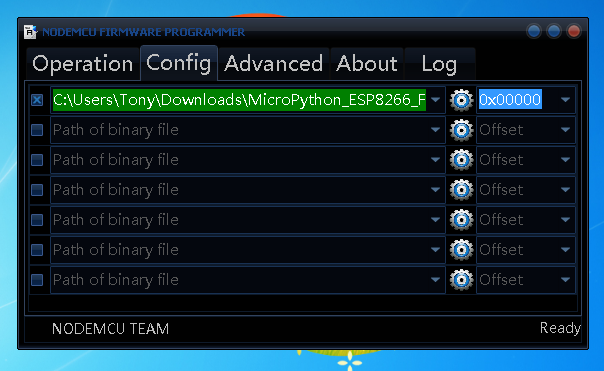
Open the flasher, input the eg5.bin file path: 
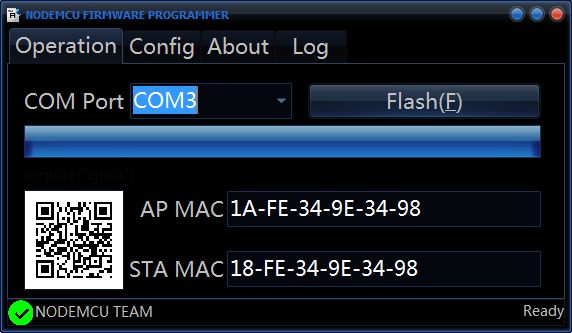
Then go back to the Operation tab, choose the correct COM port and click Flash to flash the program. 
3. Let’s get cheat sheets
After flashing the code the ESP8266 will show an AP with the name WIFI CALCULATOR. Its password is 9876543210. After successful connection, open a web browser (e.g. Chrome), go to the page 192.168.4.1, input the number you want to appear on the Casio and press “Select”.
You can view a demo clip here:2
Congratulations, now you’ve owned the Internet of Things Casio calculator!
4. Comments
In the era of the Internet of Things everything is connected to the Internet, making our lives change in a sudden way. However it can also be abused, typically in exams. The best way is that the Ministry of Education should completely remove graduation exams (especially multiple choice exams), because managing internet connected calculators of hundreds of thousands of contestants is very difficult.
As always, me Vechai won’t upload the source code, and the code will automatically expire in a few minutes. If anyone likes to they can write code for the ESP8266 to automatically reset after a few minutes, however beware of burning the EEPROM because I have saved a few variables in there.
Translation footnotes
-
In this context, “making porridge” implicitly means using the cheat device. ↩
-
The video in question (
https://www.youtube.com/watch?v=Wmn9cgfd1vA) was titled “WP 20170422 20 37 35 Pro”, is 1 minutes and 15 seconds in length and was uploaded by johnkimdinh. Unfortunately the video has now been privated along with all of johnkimdinh’s other videos, making it and all of johnkimdinh’s videos lost media. ↩